One of the highlights of using WordPress to build your website is its high degree of customisation.
You can personalise your WordPress site’s look using themes and extend functionality using plugins.
But, besides the frontend, did you know you can also personalise your site’s backend?
The WordPress admin dashboard comes with a standard look, but you can perform a few tweaks here and there to suit your preferences.
In this tutorial, we’ll teach you how to customise WordPress admin. You’ll also find:
Why customise the WordPress dashboard
Preparing for customisation
How to customise WordPress admin dashboard
Best admin themes
Final thoughts: How to customise WordPress admin
Why customise the WordPress admin dashboard
Before we share ways to customise the WordPress admin area, let’s look into the reasons why you would want to customise your WordPress dashboard in the first place. You might want to:
- Adapt the dashboard to your workflow: you can add custom menu items and features that aren’t present on the toolbar by default. You can then arrange them so they work best for you.
- Make the dashboard quicker: sometimes, installing WordPress plugins, themes, or other third-party tools add a feature you don’t want there. Removing unnecessary features makes the dashboard load quicker.
- Add personalisation: whether you’re creating a WordPress website for a client or yourself, a custom dashboard creates a more personalised experience
Preparing for WordPress personalisation
Here are some ways to prepare your WordPress site before you customise the dashboard:
- Back up your website: in case something goes wrong, you won’t lose your important files
- Create a child theme: it’s best to make changes on the child theme because updating your WordPress parent theme will reset all changes. However, the child theme will still stay the same.
How to customise the WordPress admin dashboard
- Customise the login page
- Remove widgets from the dashboard
- Add items to the dashboard
- Give your WordPress dashboard menu a new colour scheme
- Branda plugin
1. Customise the login page
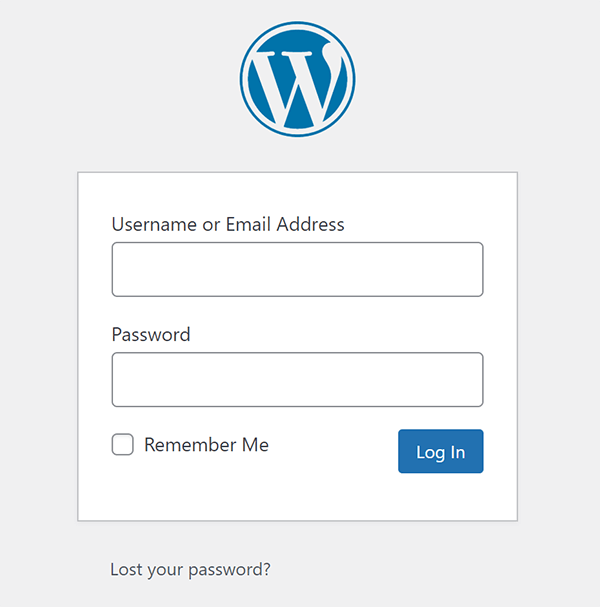
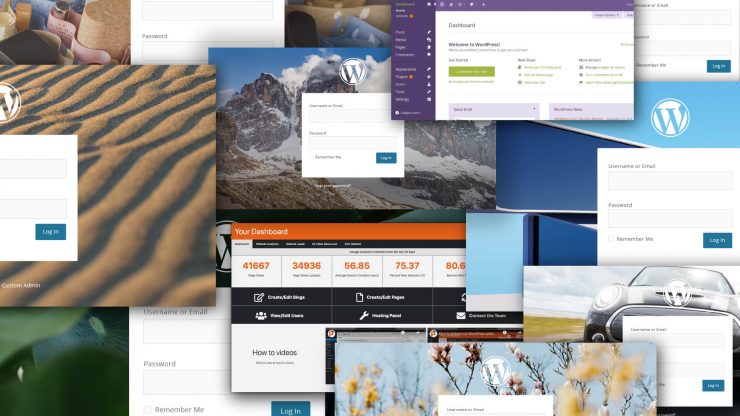
The WordPress login page is the first thing you see before accessing the dashboard area. On that page, you’ll find the WordPress logo and default login form.
Give your login screen some pizzazz by customising it. The easiest way to do so is to use plugins like Login Customizer.
Login Customizer empowers you to add custom CSS and see the changes implemented in real-time. You can use the plugin to change login page elements such as:
- Login logo
- Background image
- Default layout
- Login form
- Welcome messages
While you’re at it, don’t forget to secure your login page by changing its URL and reducing the number of login attempts permitted.
2. Remove widgets from the WordPress admin dashboard
You can remove widgets from your dashboard using built-in WordPress functionality and code. Here’s how:
Using built-in WordPress functionality
WordPress has built-in functionality that lets you remove widgets from your WordPress dashboard.
On the WordPress dashboard, click Screen Options on the top-right corner of the page (below the admin bar) to reveal a panel of WordPress widgets. Uncheck the box next to the widgets you want to disable.

You can also do the same for other wp-admin pages like Posts and Pages.
Note that using WordPress to remove widgets only applies to settings on a per-user basis. If you have multiple authors or user roles, you have to use code to enforce it for everyone automatically.
Using code
To remove widgets for everyone using code, add the following to your child theme’s functions.php file:
// function to remove the dashboard widgets, but only for non-admin users
// if you want to remove the widgets for admin(s) too, remove the 'if' statement within the function
function remove_dashboard_widgets() {
	if ( ! current_user_can( 'manage_options' ) ) {
		remove_meta_box( 'dashboard_right_now', 'dashboard', 'normal' );
		remove_meta_box( 'dashboard_recent_comments', 'dashboard', 'normal' );
		remove_meta_box( 'dashboard_incoming_links', 'dashboard', 'normal' );
		remove_meta_box( 'dashboard_plugins', 'dashboard', 'normal' );
		remove_meta_box( 'dashboard_quick_press', 'dashboard', 'side' );
		remove_meta_box( 'dashboard_recent_drafts', 'dashboard', 'side' );
		remove_meta_box( 'dashboard_primary', 'dashboard', 'side' );
		remove_meta_box( 'dashboard_secondary', 'dashboard', 'side' );
	}
}
//
add_action( 'wp_dashboard_setup', 'remove_dashboard_widgets' );
Then, to remove other widgets added by your theme, plugins, or hosting provider, find their div ID and copy it. You can get the div ID by using a browser inspector:
- In Chrome, right-click on the widget and select Inspect
- On Firefox, right-click the element and select Inspect element from the menu
- For Safari, you have to have the ‘Inspect element on’. To activate it, click Preferences in the Safari menu bar and select the Advanced tab. Then, select Show Develop menu in the menu bar. Right-click and select Inspect element from the menu.
Add a new remove_meta_box line to the code above and replace the parameter (e.g., dashboard_plugins) with the div ID.
3. Add items to the admin dashboard
You can also use code or plugins to add items to the admin panel.
Using code
Add markup to the functions.php file on WordPress to create a basic custom widget, using the code below:
// Add a new widget to the dashboard using a custom function
function twentyi_add_dashboard_widgets() {
	wp_add_dashboard_widget(
		'twentyi_dashboard_widget', // Widget slug
		'My Custom Dashboard Widget', // Widget title
		'twentyi_new_dashboard_widget_function' // Function name to display the widget
	);
}
// Register the new dashboard widget with the 'wp_dashboard_setup' action
add_action( 'wp_dashboard_setup', 'twentyi_add_dashboard_widgets' );

// Initialize the function to output the contents of your new dashboard widget
function twentyi_new_dashboard_widget_function() {
	echo "Hello from 20i. Edit me with HTML or PHP to create your own personalised widget: get creative! :) ";
}
Using plugins
The Code Snippets plugin lets you add code to your files directly, so you don’t have to add it manually to your theme’s function.php file.
4. Customise your WordPress dashboard with a new colour scheme
Give your WordPress admin menu a fresh new colour. You can use built-in WordPress functions or a plugin.
Using built-in WordPress functionality
WordPress lets you change your admin colour scheme without plugins.
To start, make your way to the top-right corner of the WordPress dashboard. Hover over your profile icon and click Edit Profile.
On the Profile page, choose from the different Admin Color Schemes available.

You can also get additional colour schemes on the WP Admin Colors website, where you make a colour scheme and then add a stylesheet to your theme and some code to your functions.php file.
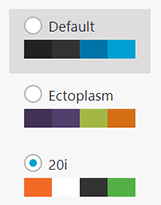
If that seems like too much work, as always, there are plugins available, like Admin Color Scheme.
5. Branda plugin
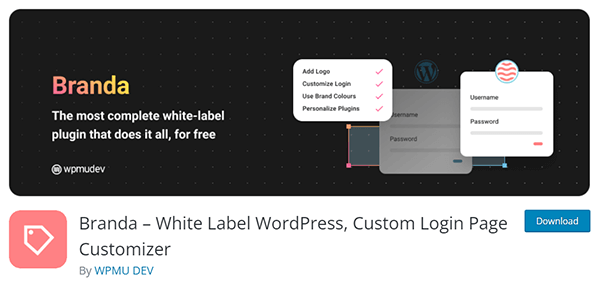
The Branda plugin offers multiple customisation options. You can:
- Change colour schemes
- Change or remove logos from the toolbar
- Modify the dashboard’s look, among many other functions
But if you want to change multiple aspects of your dashboard, you can try WordPress admin themes.
Best WordPress admin panel themes
WordPress admin themes are another way to customise WordPress admin.
Admin themes aren’t exactly themes — they’re plugins that modify your WordPress website’s backend, in the same way WordPress themes change the look of your site’s frontend.
Here are our picks for the best WordPress admin themes:
1. Slate admin theme

The Slate Admin Theme’s minimalist template is best for those who want a space without distractions. The plugin’s known for black-and-white dashboards, but it also offers a few other colour schemes.
Pricing: Free
2. WP Adminify
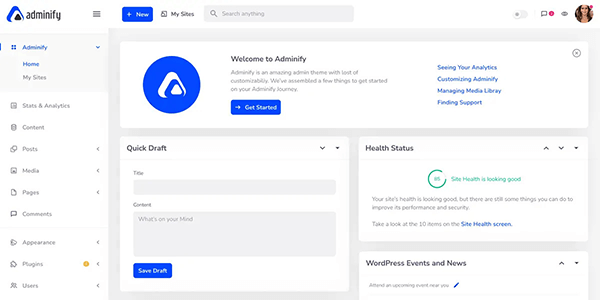
WP Adminify is a powerful admin theme that makes WordPress dashboard customisation easy and smooth. It comes with over 18 modules that enable you to organise your WordPress admin area.
With WP Adminify, you can:
- Set custom login pages and a custom logo in the dashboard
- Customise menu items
- Add or remove dashboard widgets
- Create custom admin menu pages
- Remove or change dashboard footer copyright text
Pricing: Starts at $79/year for one website
Ultimate Dashboard
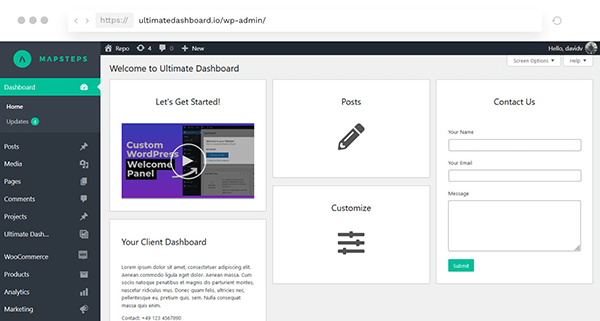
Ultimate Dashboard is a powerful plugin that empowers you to customise WordPress admin. You can use the plugin to:
- Remove third-party widgets
- Create customised login pages
- White label WordPress
- Edit the admin menu
Pricing: Free with limited features. Premium plans start at $98/year for up to five websites.
Final thoughts: how to customise WordPress admin
Improving aesthetics and increasing productivity are just two of the reasons you might want to customise your WordPress admin area.
There are many ways to personalise the WordPress dashboard — you can add or remove features, customise the login page, or change the colour scheme using plugins, in-house WordPress functions, or custom code.
How will you customise your WordPress dashboard? Get started today with 20i’s WordPress hosting.



Add comment