
Whether you are looking for more control over your website, for a more cost-effective solution with a better hosting provider – this guide will help you to free your site from the restrictions of Squarespace.
Squarespace does not allow you to export all types of content. This is what their export tool can handle:
- Layout pages
- One blog page and its posts
- Text blocks
- Image blocks
- Gallery pages
The first thing you’ll need to do is get your data out of Squarespace. You can export your data via the Squarespace dashboard by going to:
Settings > Website > Import/ & Export Content
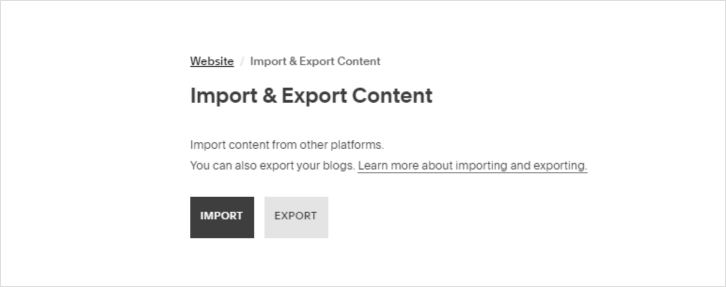
Select ’EXPORT’ and choose WordPress. This downloads your website’s data into an XML file.

Import into WordPress
Ensure you have a WordPress installation ready.
With our Managed WordPress hosting, WordPress comes pre-installed, and is also available as a 1-click install on our Linux shared hosting and PHP Optimised Managed Cloud hosting.
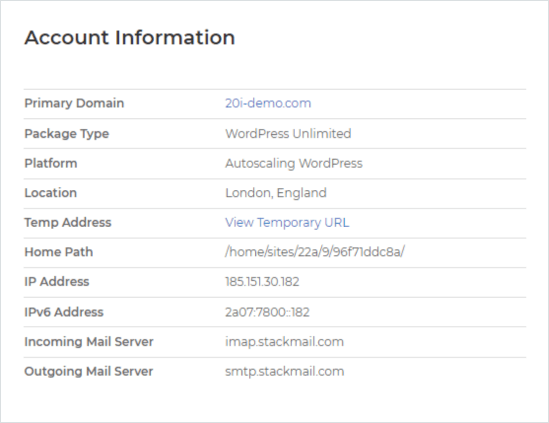
You can access your WordPress website via the temporary address to complete the WordPress setup and import your data.
Within the WordPress dashboard Go to Tools > Import and install the WordPress Importer plugin.
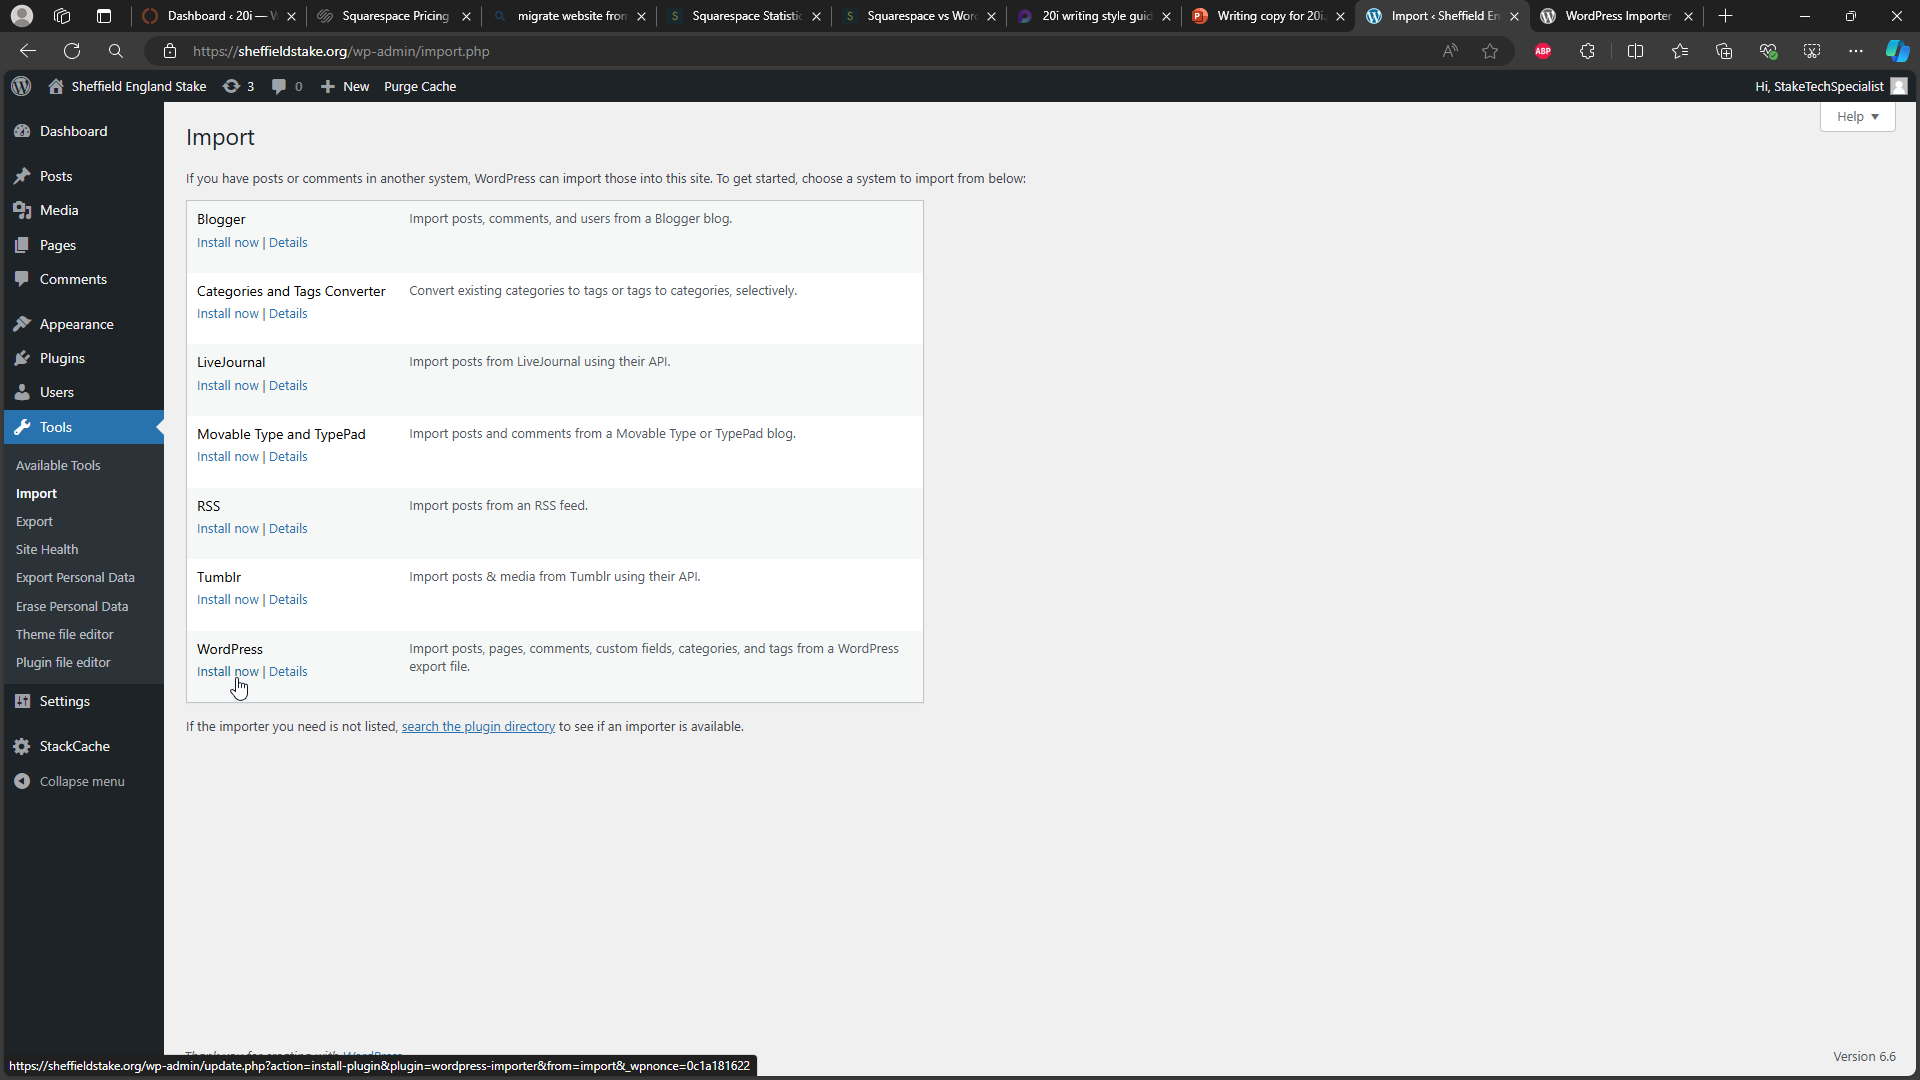
When installation has completed use the Run Importer button and upload the XML file you exported from Squarespace.

During the import process, you will be prompted to assign authors to the imported content. If your website has multiple authors then they will need to be set up before this stage.
When the import has completed, check that the data has been imported correctly. You should see that your pages, text, image blocks and gallery pages have all been imported.
Not all data is exported from Squarespace, so you will need to re-design your website and manually import the rest of your data.
Images
Unfortunately, images are not exported from Squarespace and will need to be manually imported. There is a quick way of doing this by using a plugin called ‘Auto Upload Images’.
The plugin searches for image URLs in your WordPress Posts and automatically uploads and imports images from the media library.
To trigger the upload process, you will need to edit all pages and posts that contain images. To do this, click ‘pages’ or ‘posts’ in the WordPress admin area.
You will firstly need to modify the ‘Screen Options’ settings and update the ‘number of items per page’ count to 999 > Click Apply. Doing this will list 999 pages and posts rather than the default amount per page.

After you’ve set the number of items per page value. Select all the items in the bulk actions drop down menu, click ‘Edit’ and then ‘Apply’.
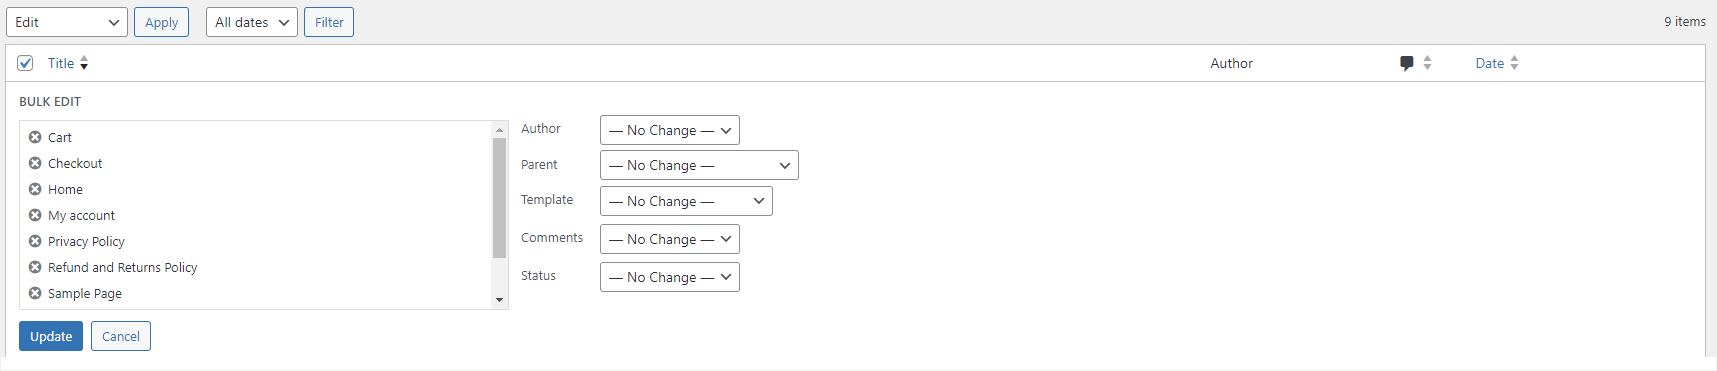
This begins uploading all images found on each page. This will take a few moments to complete as you’re updating all pages at once.
When the process is complete, you can check the ‘Media’ option in the wp-admin side bar for your images to make sure everything is present and accounted for.
Products
If you have a website with products, you will need to manually recreate product pages using something like WooCommerce.
You can easily install the WooCommerce plugin via the WordPress admin area > Plugins > Add new > Use the search tool to search for ‘WooCommerce’ and it will appear as an option

Export product information from Squarespace via the Selling Panel > Select the products > Export to download a .csv file. Use this file to recreate your products in WooCommerce.
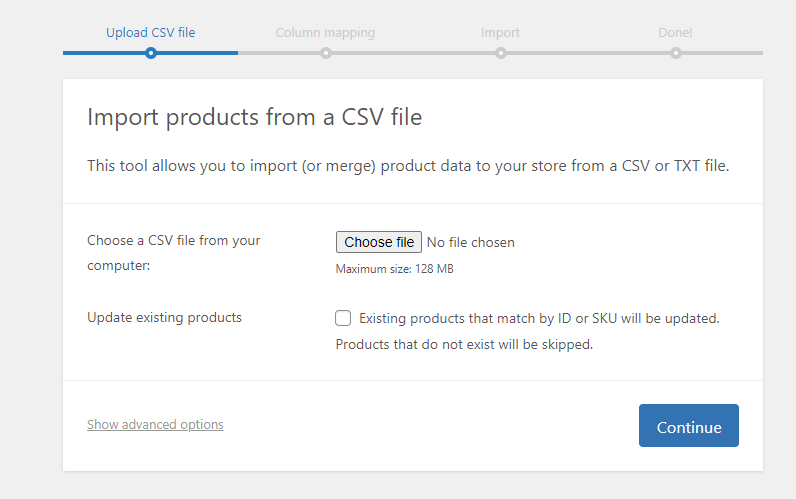
To import the .csv file, go to WooCommerce > Products. Click the ‘Start Import’ button.

Select ‘Choose File’ and upload your CSV file.
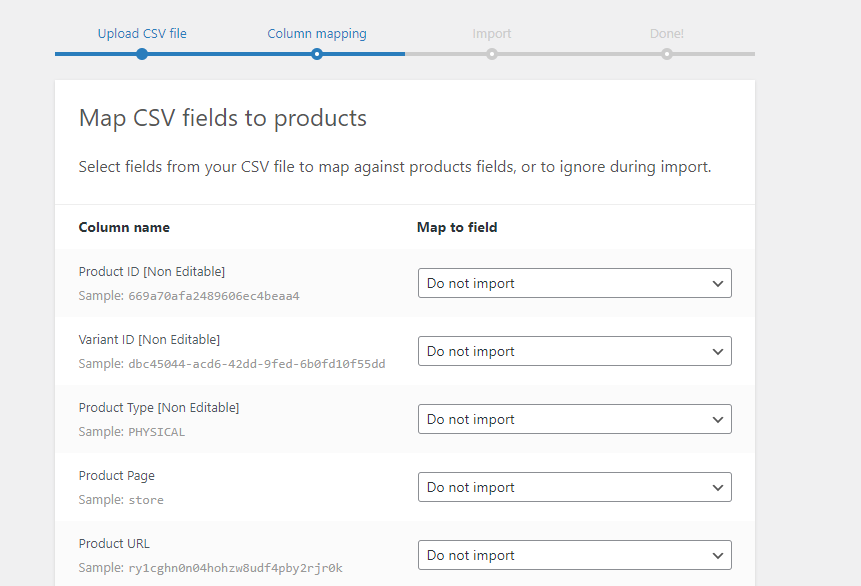
You will then be given some options to map the CSV columns to the field. With everything correctly mapped, click ‘Run the importer’ button at the bottom of the list.
Design and Layout
When you first migrate to WordPress, your website will not look exactly as it did on Squarespace.
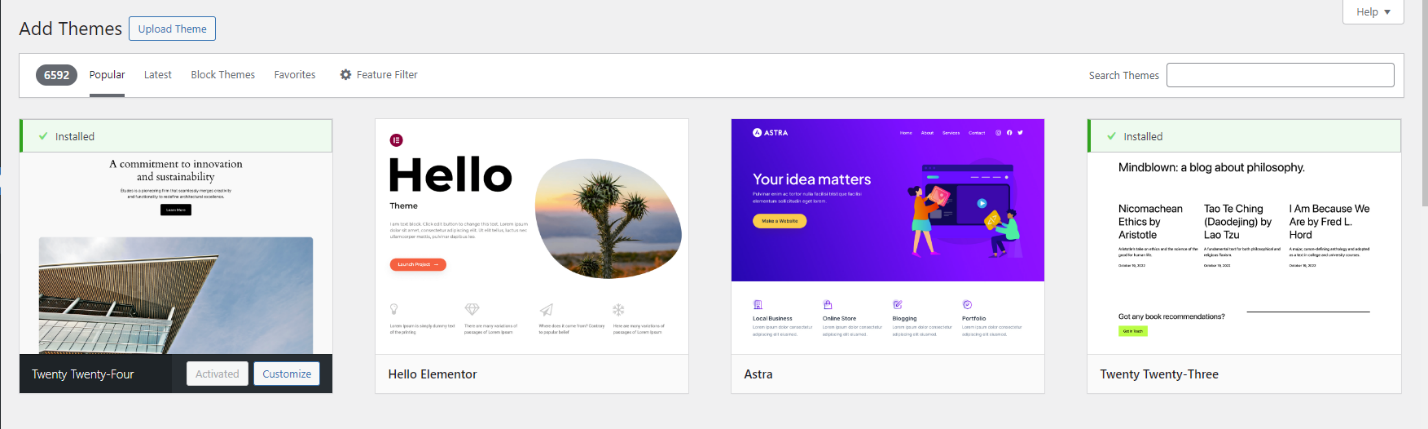
WordPress offers an enormous range of free themes so you’ll be able to find one that closely resembles your website’s current look as a starting point.
If you aren’t confident, you can also purchase premium themes that come with page building tools to simplify the process.
Custom CSS
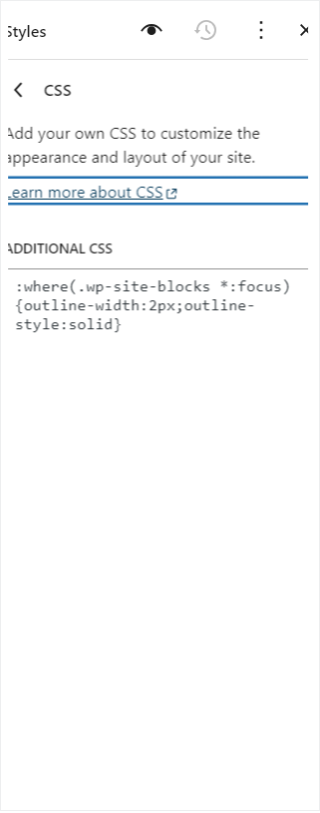
You’ll need to manually import any custom CSS used on your Squarespace website.
You can copy and paste your CSS code into the WordPress theme style.css file or you use the ‘Additional CSS’ tool in wp-admin > Appearance > ‘Customize’ > Styles > Edit > Additional CSS

Custom JavaScript
There are a few ways you can import your custom JavaScript into WordPress.
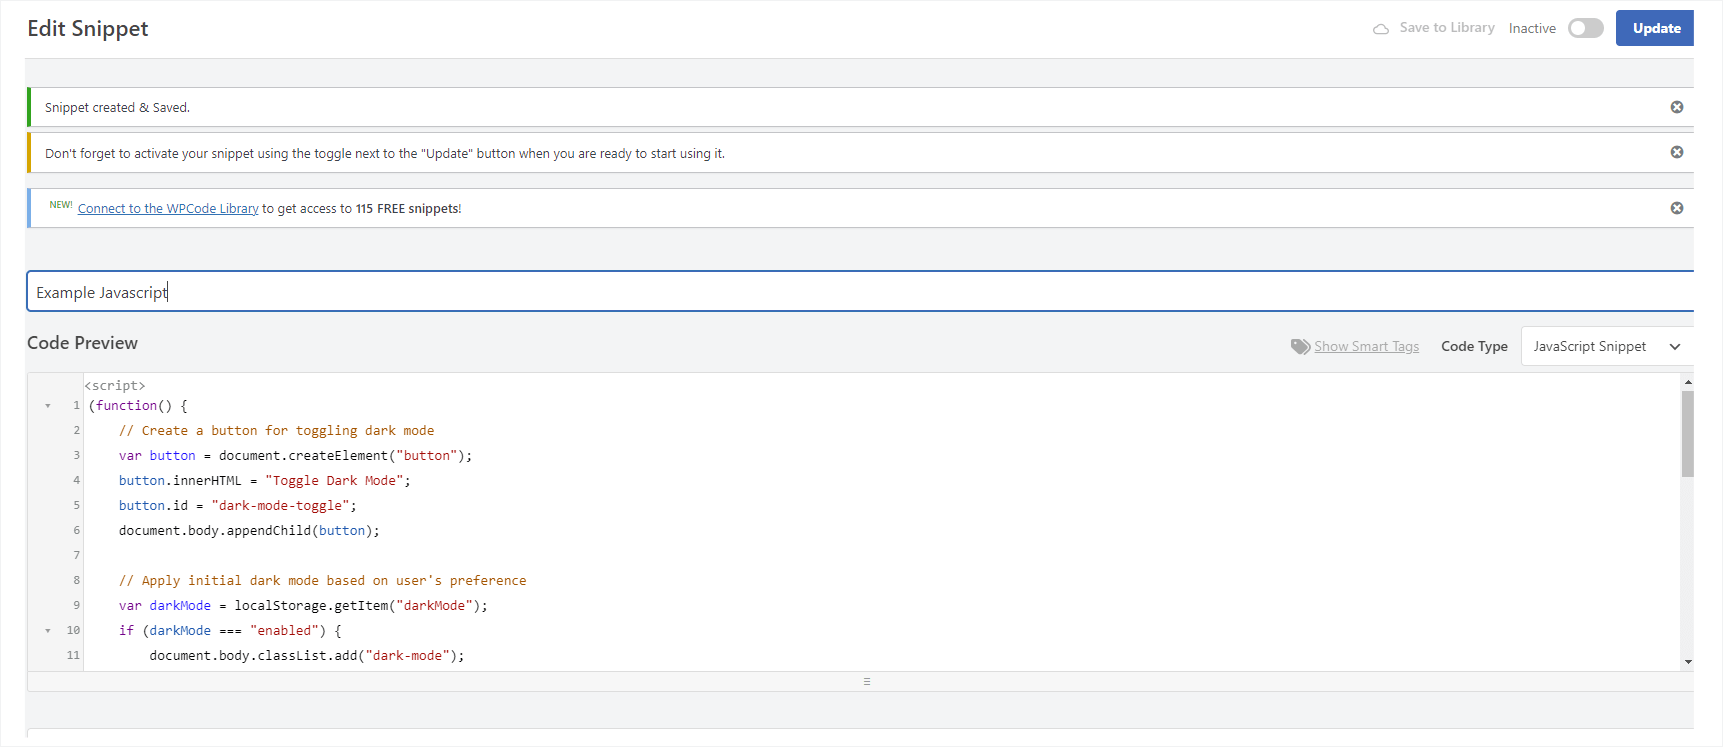
The easiest method is to use a plugin such as WPCode. This will allow you to insert code snippets into your WordPress website without having to modify your websites functions.php file.
WPCode has an easy-to-use interface where you can name your code snippet and copy and paste the code.
Update Permalinks
Before making your website live you’ll need to update the permalinks. Your posts resolve to URLs in various formats such as:
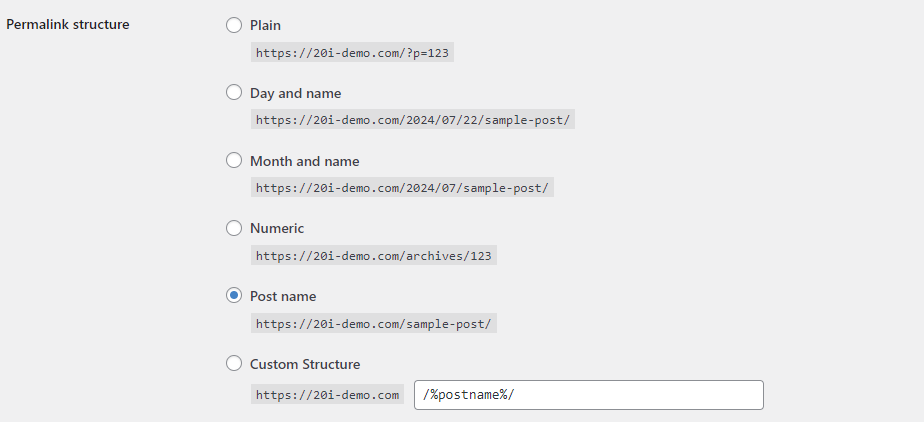
https://domain.com/?p=123Update the permalink structure by going to ‘Settings’ via WordPress admin > Permalinks and select the format that you’d like to use.
Selecting ‘Post name’ makes the links easier to understand, and your URL format will look like this:
https://domain.com/post-nameMaking your website live
Now that you’ve migrated all your data into WordPress and re-designed your website; it is time to make your website live.
To do this, you will need to point your domain to your hosting package.
Within My20i, you can easily transfer your domain to us so that you can manage your domain and hosting in one place, and then you can update the nameservers to ours.
If you have email hosting with another provider you should update your DNS settings before changing the nameservers to avoid disruption to your email services.
If your domain is registered elsewhere, you will need to contact the hosting provider and ask them for the nameserver information.
Final thoughts
WordPress powers 43% of websites, has hundreds of quality help guides and has active community forums available to empower users to develop outstanding websites.
If you need more control and customisation than Squarespace allows – or would prefer to move your hosting over to a highly optimised and cost effective platform – WordPress hosting with us is the best solution.
See how much you can save by moving from Squarespace to WordPress on our platform while also getting access to better features here: WordPress Plugins You Don’t Need With 20i (& Save $1250) – 20i


Add comment